Software & Comparisons
Why Tattoo Studios Are Leaving Fresha (And How to Switch to Tattoo Studio Pro Without Losing Clients)
Fresha works fine for salons and spas. For tattoo studios, it falls short where it matters most: no artist portfolios, no minor consent workflows, and a marketplace model that technically owns some of your client relationships. This guide covers what you lose when you leave Fresha, what transfers, and how to bring your clients with you to Tattoo Studio Pro.
Making the switch from Fresha sounds straightforward until you realize you’re not sure which clients you’re actually allowed to take with you.
That’s not a theoretical concern. Fresha runs a dual model: software subscription plus consumer marketplace. Some of your clients found your studio through Fresha’s discovery listings, booked through the Fresha app, and left reviews inside Fresha’s ecosystem. When you cancel Fresha, your studio disappears from that marketplace. Those clients can no longer find you through the same channel they used before.
This guide is for studios that have decided to leave. It covers the tattoo-specific reasons Fresha falls short, which data migrates and which doesn’t, how to get your client list into Tattoo Studio Pro, and how to time the cancellation so you don’t lose active bookings or relationships you’ve spent years building.
What Fresha Was Built For (And Where That Leaves Tattoo Studios)
Fresha started as a booking platform for salons and spas. Haircuts, facials, waxing, nails. That lineage shapes the product. It’s good at marketplace discovery for general beauty services, and it shows everywhere that tattooing requires something different.
Three gaps matter specifically for tattoo work:
No artist portfolio pages. Tattoo clients pick an artist, then a time slot. That’s the sequence. Fresha doesn’t support individual artist portfolio pages inside the platform. If your clients want to see healed work, browse flash, or pick a style before committing to a deposit, you’re sending them to Instagram, then back to Fresha to book, then back to Instagram if they have questions. That’s two extra friction points between “interested” and “booked.” Some bookings don’t survive the round trip.
No tattoo-specific consent forms. Fresha has intake forms, but they’re generic templates designed for beauty appointments. They don’t include minor consent workflows, health contraindication fields specific to tattooing (blood thinners, prior ink reactions, skin conditions that affect healing), or the documentation format most state health departments look for during inspections. Studios using Fresha forms for compliance are usually patching them with workarounds and hoping for the best. Tattoo-specific digital consent forms built around actual health department requirements are a different category of tool.
The marketplace fee structure. Fresha makes money through marketplace placement and payment processing fees. When clients find and book through Fresha’s consumer app, Fresha is the intermediary. Studios pay for visibility; clients sometimes encounter Fresha’s processing layer. That’s a system optimized for Fresha’s growth, not yours. The hidden costs of free tattoo booking platforms covers exactly how that model works and what it actually costs studios over 12 months.
The Marketplace Lock-In Problem
This is the part most Fresha migration guides skip, and it’s the part that catches studios off guard.
Fresha isn’t just booking software. It’s a consumer marketplace with clients using the Fresha app to discover and book local services. A portion of your studio’s clients found you through that app. They booked through Fresha, left reviews in Fresha, and have Fresha accounts tied to their history with your studio. In their experience, they’re booking “through Fresha,” not directly with you.
When you cancel Fresha, your studio stops appearing in that marketplace. Clients who go back to the Fresha app to rebook can’t find your studio.
What you can take: Any client who gave you their contact information (name, email, phone number) is yours. That data exports from Fresha as a CSV file and you can use it however you want. Those are your clients.
What doesn’t come with you:
- Fresha marketplace reviews (platform-owned, non-exportable)
- Your studio’s ranking and visibility in the Fresha discovery app
- Clients who only ever interacted with you through the Fresha app and never shared direct contact details
The practical response: Before you cancel, export your full client list and check how many records include email addresses or phone numbers. For everyone you can reach directly, send a transition message before you pull the plug on Fresha. For clients you can only reach through the Fresha app, you may lose the connection when your listing disappears. Knowing that number ahead of time helps you plan.
What Actually Transfers When You Leave Fresha
Here’s the honest breakdown:
| Data Type | Exportable? | How |
|---|---|---|
| Client list (name, email, phone) | Yes | Clients → Options → Export as CSV |
| Appointment history | Yes | Sales → Appointments → Export → CSV |
| Financial reports | Yes, one at a time | Reports section, no bulk export |
| Consent form responses | No bulk export | Manual PDF save per client |
| Fresha marketplace reviews | No | Platform-owned, stays on Fresha |
| Fresha discovery visibility | No | Removed when subscription ends |
Consent forms are the time-consuming part. Fresha doesn’t allow bulk exports of completed form responses. Go to Settings → Forms, find each client’s completed response, click the three dots, choose “View client response,” then Options → Print → Save as PDF. Prioritize active clients first. Pull historical records in batches after your go-live date on the new system.
Financial reports export one date range at a time. Pull the periods you’ll need for tax purposes before you cancel your subscription.
Getting Your Data Into Tattoo Studio Pro
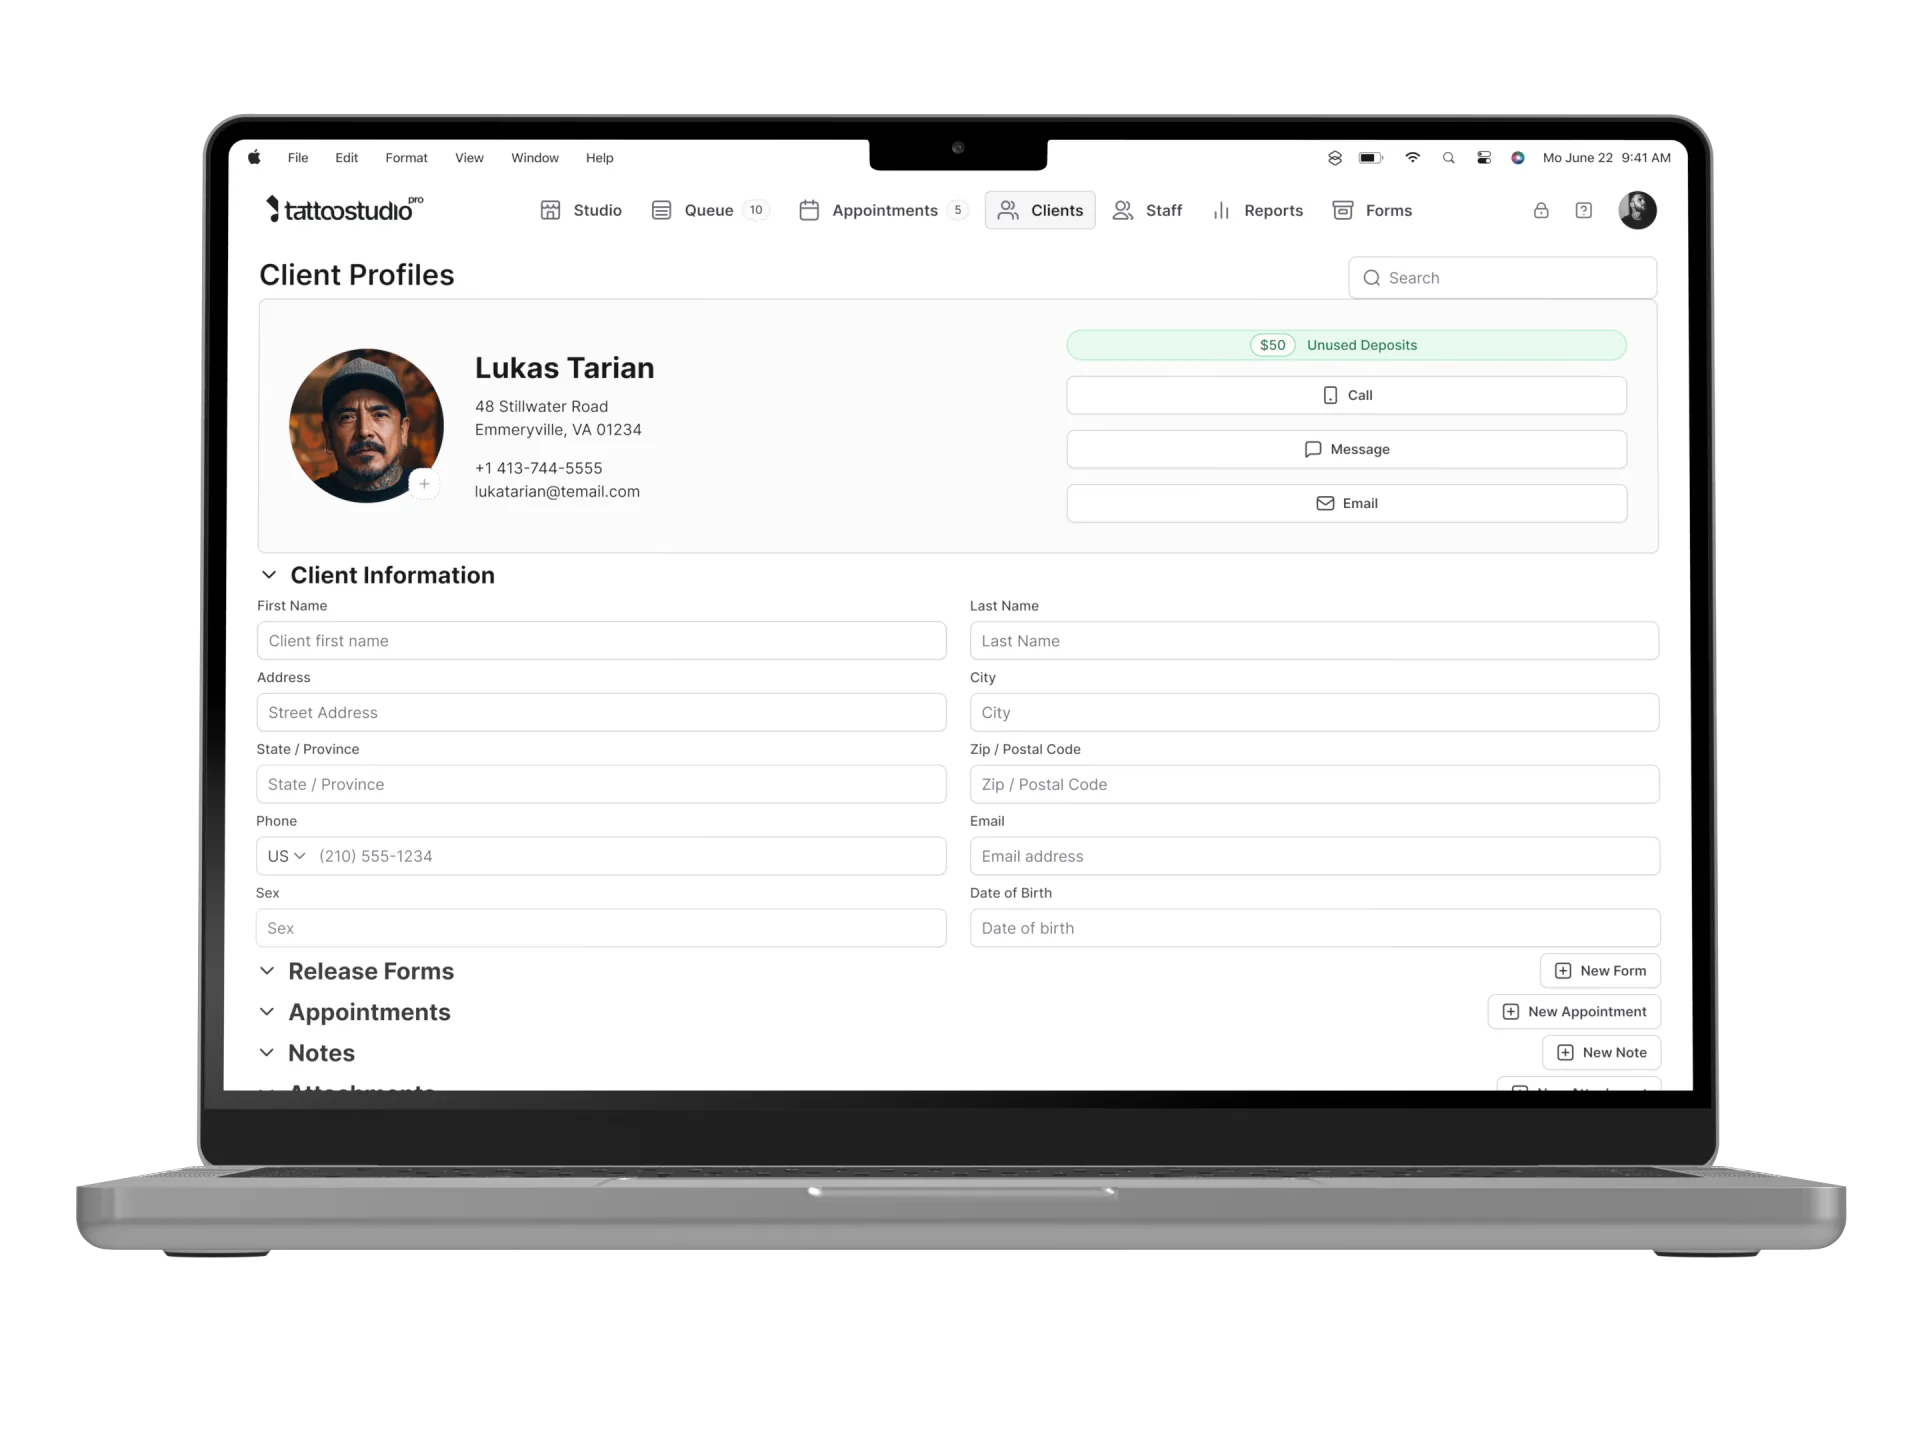
Tattoo Studio Pro offers a free client data import service. The support team handles field mapping and upload, so you don’t need to reformat your Fresha CSV or figure out column alignment yourself.
When you’re ready to migrate, contact the support team with your exported files. The import covers:
- Client name, email address, phone number, address, date of birth
- Appointment date, start and end time, assigned artist, session notes
- SMS reminder preferences
For data migration safety: transfers happen over encrypted connections and client data is stored encrypted at rest. The team doesn’t retain copies of your export files after the import completes.
One timing detail: any appointments or client updates you add in Fresha after your export won’t be in the import. Export as close to your go-live date as possible, then stop entering new data into Fresha. The migration timeline for switching platforms for most single-location studios runs three to five business days from export to fully live.
What Tattoo Studio Pro Does Differently
This is where the switch pays off. Three areas where Tattoo Studio Pro is built for tattoo work in ways Fresha isn’t:
Consent forms with minor workflows. The built-in form editor lets you create tattoo-specific intake forms with e-signature capture. You can configure minor consent workflows: parental consent fields, guardian contact requirements, and age verification steps that match what state health departments actually look for. Forms link directly to client profiles and are searchable by client name, session date, or form type.
Artist portfolios built into the platform. Each artist gets a portfolio section inside Tattoo Studio Pro. Clients browse healed work, flash designs, and style examples before booking, all within the same system where they book and pay. No redirect to Instagram, no broken link in someone’s bio.
SMS reminders included on every plan, no per-text charge. All plans include unlimited SMS reminders. Appointment confirmations, day-before reminders, and follow-ups run automatically. No calculating message costs, no surprise overage. For the reminder timing and messaging strategies that actually reduce no-shows for tattoo appointments, the no-shows and cancellations guide has the specifics.
Payment processing connects through Stripe. Set it up once in settings and it handles card-on-file deposits, point-of-sale checkout at the end of a session, and automatic financial reporting. Reports break down by artist, service type, and payment method: tattoo-specific tracking, not generic service totals. For studios adding other tools during the migration window (Google Calendar sync, review platforms, point-of-sale hardware), the platform integration guide covers what connects and the recommended setup sequence.
Staff Accounts and Permissions
Each team member gets their own login. Permissions work by role:
| Role | Access | Counts Toward Staff Limit? |
|---|---|---|
| Owner/Manager | Full access: settings, reports, staff management | Yes |
| Artist | Queue, appointments, client profiles, forms archive, portfolio | Yes |
| Staff | Queue and appointments only | Yes |
| Health Official | Forms archive only | No |
The Health Official role is worth noting for inspection prep: your health inspector gets read-only access to consent form records without touching financial data or client booking details. It doesn’t count as a paid staff seat and doesn’t take up a slot on your plan.
Pricing runs by staff count. Solo covers one artist at $29/month. Crew covers up to five at $69/month. Annual billing drops the cost 30%.
Timing Your Fresha Cancellation
Don’t cancel Fresha the day you go live on Tattoo Studio Pro.
Run both platforms in parallel for at least five business days. Use that window to confirm your client data imported correctly, verify that active appointments for the next 30 days are visible and accurate in the new system, and let your team get comfortable with day-to-day workflows before Fresha is gone.
Before you cancel:
- Export any financial reports you’ll need for tax records or historical reference; the cost management guide covers which periods to pull and how long to retain platform records
- Send a “we’ve moved booking platforms” message to your active client list with your new direct booking link
- Screenshot any Fresha marketplace reviews you want for reference, since they won’t export
- Confirm no Fresha appointments are scheduled past your cancellation date
After you cancel, your Fresha marketplace listing is removed immediately. Clients who go to the Fresha app to find or rebook your studio won’t find it. Your Tattoo Studio Pro booking link becomes your only online booking channel, so make sure you’ve communicated that to your active clients before pulling the plug.
For the feature and pricing comparison between Fresha and Tattoo Studio Pro, the best alternative to Fresha for tattoo shops post covers the side-by-side breakdown.
FAQs
Can I export my entire client list from Fresha?
Yes. Go to Clients, click Options, and export as CSV. The file includes names, email addresses, phone numbers, and client notes. Appointment history exports separately from the Sales section. Consent form responses require individual PDF saves per client. There’s no bulk export option for completed forms in Fresha.
What happens to my Fresha marketplace reviews when I cancel?
They stay on Fresha’s platform. Marketplace reviews are Fresha’s data, not yours. You can screenshot them before you cancel for your own reference, but they don’t transfer to Google, Yelp, or anywhere else. Set up your Google Business Profile and start actively requesting reviews through that channel before you cancel Fresha. That gives you a review presence that belongs to you.
Does Fresha charge a cancellation fee?
Fresha typically doesn’t charge a cancellation fee for its software subscription. Check your specific plan terms if you’re on annual billing or if you use Fresha’s payment processing product, since those may have separate terms. Cancel before your next billing date to avoid being charged for an additional month.
Will my clients lose their booking history when I switch?
Their Fresha booking history lives in Fresha’s system. After you migrate, clients who look at the Fresha app won’t see past appointments with your studio. On the Tattoo Studio Pro side, your team can see the imported appointment history linked to each client profile. The handoff for clients requires a direct message from you explaining that you’ve moved platforms and sharing the new booking link.
How do I notify clients about the switch?
Export your client list before you cancel, then send a direct email or SMS. Keep the message short: your studio has upgraded its booking system, here’s the new link to book. Clients who only interacted with you through Fresha’s marketplace app may not have a direct contact record. Check your CSV export for which records include email addresses before you plan your outreach.
How long does the migration actually take?
Most single-location studios are fully live in three to five business days: one day to export and organize Fresha data, one to two days for Tattoo Studio Pro’s team to complete the import, and two to three days of parallel running to verify everything before you cancel Fresha. The migration timeline section above has the full week-by-week breakdown.
What does Tattoo Studio Pro’s free import actually cover?
The import service handles client contact information (name, email, phone, address, date of birth) and appointment history (date, time, assigned artist, session notes, SMS preferences). Consent forms from Fresha need to be saved as PDFs manually before your switch. The import team can’t pull those from Fresha directly. Going forward, new consent forms are collected through Tattoo Studio Pro’s built-in form system and stored in each client’s profile automatically.
Start a 30-day free trial and see how the platform fits your studio before you cancel anything. Full plan details at /pricing/.