Software & Comparisons
How to Migrate from Booksy to Tattoo Studio Pro: Complete Step-by-Step Guide
Learn how to seamlessly migrate your data from one scheduling platform to another, ensuring a smooth transition for your tattoo studio.

Switching from Booksy to Tattoo Studio Pro can simplify your studio’s operations and improve efficiency. This guide walks you through the entire process, from exporting your data to setting up your new system. Here’s what you need to know:
-
Why switch? Tattoo Studio Pro consolidates scheduling, client management, payments, and financial reporting into one platform, saving time and effort.
-
Preparation: Back up and clean your Booksy data, including client lists, appointment schedules, and financial records. Plan your migration during a slow period to minimize disruptions.
-
Data transfer: Export client information directly from Booksy, but you’ll need their support team for appointment and financial data.
-
Setting up Tattoo Studio Pro: Choose a plan, import data with their support team, and configure features like digital forms, SMS reminders, and payment processing.
-
Training your team: Provide hands-on training and ensure everyone is comfortable using the new system.
Getting Ready for the Migration
Getting ready for a migration takes careful planning to avoid unnecessary hiccups. Without proper preparation, things can go off the rails quickly, 64% of companies report that their data migration projects either exceed their budgets or take longer than planned due to poor planning. Putting in the effort to organize your data and map out your schedule ahead of time can save you a lot of headaches down the road.
Backing Up and Organizing Your Booksy Data
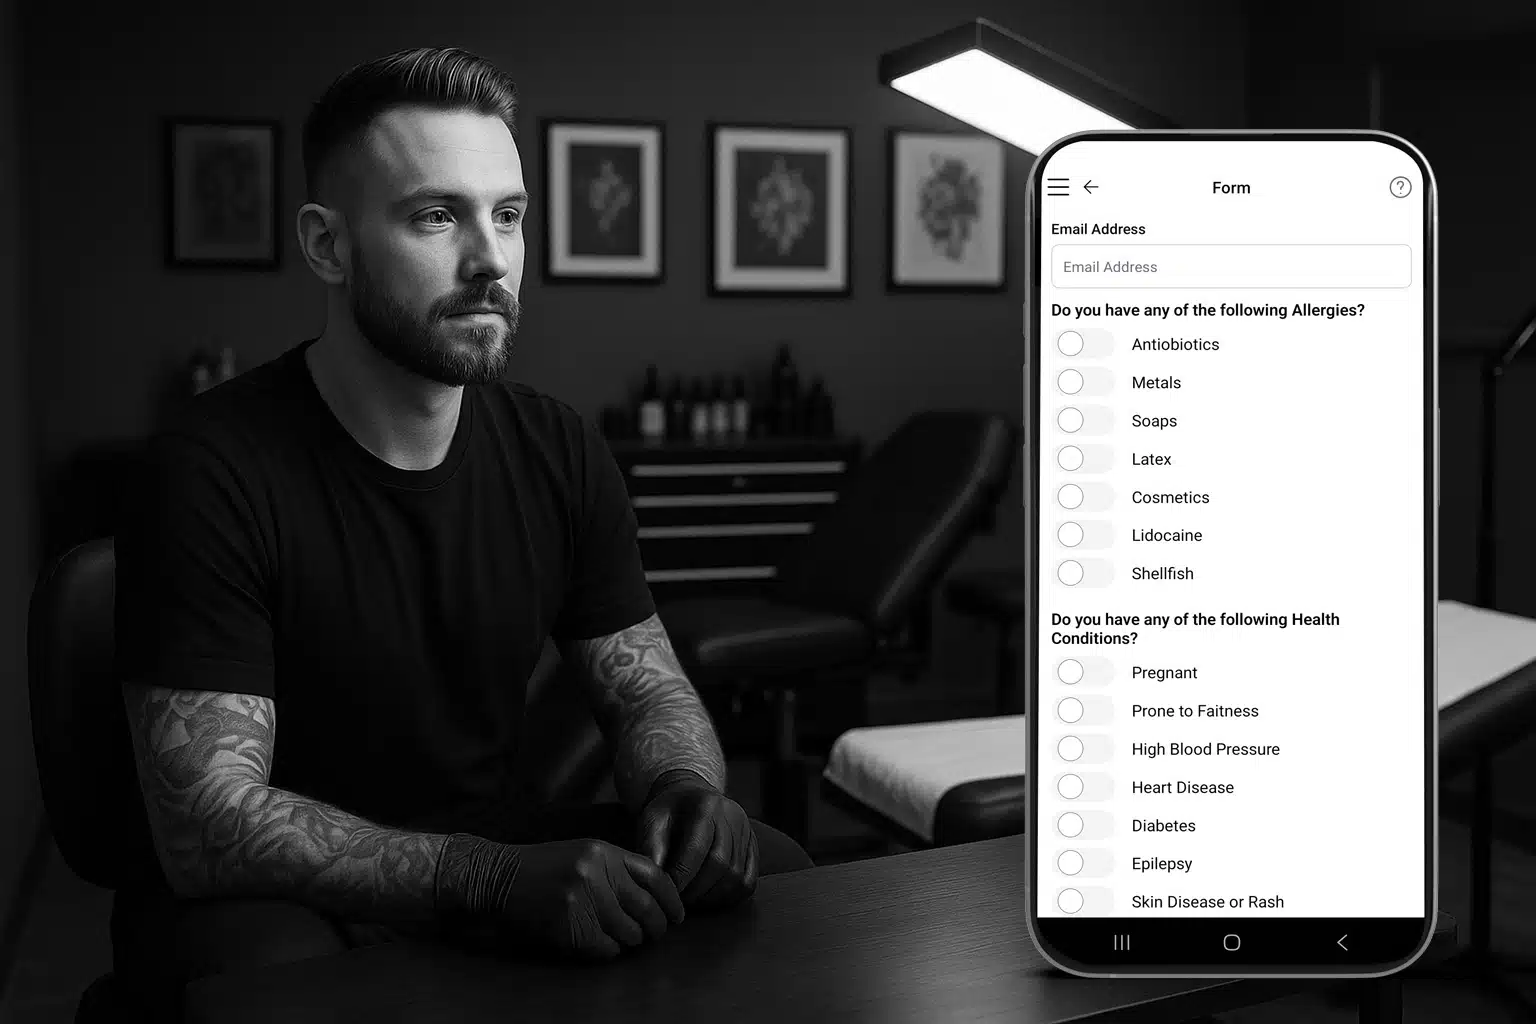
The first step is securing all the critical data stored in Booksy. Since 91% of businesses say that inaccurate data impacts their bottom line, creating clean, well-organized backups before starting the migration is a must.
Exporting client information from Booksy is simple. Head to the “Customers” section and click “Export to CSV” to download a full list of your clients. This file will include all the essential details, names, contact info, and service history, so you can maintain those important client connections.
Appointment data, however, is a bit trickier. Booksy doesn’t offer a self-service export option for appointment schedules, so you’ll need to reach out to their support team to request a CSV file. Since support requests can take a few business days to process, make sure to plan for this step early.
For staff and service details, you’ll need to roll up your sleeves and compile the information manually into a spreadsheet. For staff, include full names, email addresses, and phone numbers. For services, document their names, descriptions, pricing, and durations. Unfortunately, Booksy doesn’t provide direct export options for this type of data.
Once you’ve gathered all your data, it’s time to clean it up. Remove duplicate entries, update outdated contact information, and correct any inconsistencies in pricing or service descriptions. Standardizing formats, like dates and phone numbers, will make importing into the new system much smoother.
Planning Your Migration Timeline
Timing is everything with a migration. Schedule the process during a slow period for your studio, mid-week or during a traditionally quieter month, to minimize disruptions.
Make sure to loop your team in early. Give staff at least two weeks’ notice about the transition and explain how the new system will improve day-to-day operations. This helps ease any resistance and ensures everyone is on the same page.
Set aside an entire day for setup, testing, and troubleshooting. While importing data might only take a few hours, having extra time lets you focus on fine-tuning and resolving any issues without feeling rushed. Aim to schedule this on a day when your studio is closed or has very few appointments.
Don’t forget to notify your clients. Send out a quick update letting them know about the system upgrade and reassure them that their service experience won’t change. This proactive communication helps avoid confusion if they notice any tweaks in the booking process.
Once your timeline is set and your team is ready, you can move on to setting up your Tattoo Studio Pro account.
Setting Up Your Tattoo Studio Pro Account

Before diving into the migration, select the plan that best fits your studio’s needs. Tattoo Studio Pro offers several options, from the Solo plan at $29/month for single artists to the Legion plan at $299/month for studios with up to 25 artists. If you’re a solo artist making the switch, the process is even simpler.
Double-check your account details before importing any data. Confirm that your studio’s basic information, time zone, and contact details are accurate. These settings are crucial since they affect how appointments are displayed and how automated reminders are sent to clients.
Spend some time exploring the features of your chosen plan. Familiarize yourself with Tattoo Studio Pro’s dashboard, learn where key functions are located, and dig into the settings. This initial walkthrough will make the migration process smoother and help you organize your data effectively in the new system.
Once your account is set up and verified, you’re ready to start importing your Booksy data.
Exporting Data from Booksy
Getting your data out of Booksy is a smart move to smooth out your transition. While some exports are straightforward, others might need assistance from Booksy’s support team. Taking the time to organize your exports now will make the import process much smoother later.
Exporting Client Information
Exporting your client list is a breeze. Booksy offers a self-service option to download your client information as a CSV file. Here’s how to do it:
-
Log into your Booksy account.
-
Go to the Customers section.
-
Click the Export to CSV button.
Your CSV file will include client names, phone numbers, and email addresses. Make sure phone numbers follow the (XXX) XXX-XXXX format for consistency. If you need extra details, like client notes or booking preferences that aren’t included in the standard export, reach out to Booksy’s support team. They can provide a more detailed file upon request.
Exporting Appointment Schedules and Financial Records
Unlike client data, exporting appointment schedules and financial records isn’t something you can do on your own. For these, you’ll need to contact Booksy’s support team and request the files. They’ll send you a CSV file with the necessary information. Be sure to confirm that dates are formatted as MM/DD/YYYY to ensure compatibility with other systems.
Once you’ve received and reviewed this data, you’ll be ready to move it into Tattoo Studio Pro.
Organizing Exported Files
Once your data is exported, take a moment to organize it. Save all your files in a dedicated folder, and use clear, descriptive names like “Clients_Nov2025.csv.” Consider creating subfolders for different types of data, such as clients, appointments, and financial records.
Before proceeding, spot-check each CSV file for missing data or formatting issues. Pay close attention to phone numbers, email addresses, and numerical fields to avoid errors during the import. Look out for unexpected characters or inconsistencies that could cause problems.
Finally, back up your original export files in a separate location. This way, if something goes wrong during the import process, you’ll have a clean copy to fall back on.
With everything exported, checked, and organized, you’re all set to start importing your data into Tattoo Studio Pro.
Importing Data into Tattoo Studio Pro
Once you’ve exported and organized your Booksy data, Tattoo Studio Pro makes the transition smooth with its support-assisted tools tailored for studio migrations.
Using Tattoo Studio Pro’s Import Tools
Tattoo Studio Pro provides a free client list import service specifically designed for studios switching from Booksy. Forget about the hassle of manual CSV uploads, the support team takes care of everything for you.
Here’s how it works: reach out to the Tattoo Studio Pro support team and let them know you’re migrating from Booksy. They’ll work with you to securely transfer your client data into your new account. This service ensures all your client details are transferred, saving you valuable time and effort.
Mapping and Checking Data
After your client data has been imported, it’s important to double-check that everything is where it should be. While the Tattoo Studio Pro team handles the transfer, reviewing the imported data yourself is an essential step.
Take a close look at a sample of client records to confirm that names, phone numbers, and email addresses have been imported correctly. Check that phone numbers and other key details are formatted as expected. If you spot any issues, report them to the support team immediately.
Spend some time browsing through your client data to identify any missing details or formatting inconsistencies. The Tattoo Studio Pro team is ready to assist with any corrections, so don’t hesitate to reach out if something seems off. Once you’re confident the data is accurate, you can move on to setting up team access.
Setting Up Team Roles and Permissions
With your client data verified, it’s time to configure team roles to match your studio’s workflow. Tattoo Studio Pro offers customizable team accounts with role-based access controls, allowing you to determine exactly what each staff member can see and do within the system.
Create individual accounts for your team members using their email addresses to send login credentials. When assigning roles, think about your studio’s hierarchy. For instance:
-
Managers might need full access to reports and client data.
-
Artists may only require access to their schedules and client interactions.
-
Front desk staff could need permissions for booking and managing client records but not financial data.
This system ensures that everyone has access to the tools they need without being overwhelmed by unnecessary features. Artists can focus on their work, while managers maintain control over studio operations.
Before going live, test the team accounts by running through common tasks. This trial phase helps identify any adjustments needed to permissions, ensuring a smooth transition for your entire team.
Setting Up and Configuring Tattoo Studio Pro
Once your data is imported and team roles are assigned, it’s time to configure Tattoo Studio Pro’s essential features to keep your studio running smoothly.
Configuring Appointment Booking Settings
Start by fine-tuning your booking system. Head over to the appointment settings section to set your studio’s operating hours and define appointment time slots that fit your schedule.
Take advantage of the SMS reminder feature to minimize no-shows. You can configure automatic reminders to go out 24 hours and 2 hours before each appointment. Adding a small buffer between appointments can also make a big difference, it gives your team time for cleanup and quick consultations.
These tweaks ensure your booking system matches your studio’s workflow.
Setting Up Digital Consent Forms and Payment Processing
Ditch the paperwork by using Tattoo Studio Pro’s Digital Forms feature. Begin by customizing your client intake process to suit your studio’s needs. Then, create digital form templates that are directly tied to the services you offer. This makes the process smoother for both your team and your clients.
For payments, Tattoo Studio Pro integrates with Stripe for a hassle-free experience. Setting up Stripe within the platform means you can handle deposits, process in-studio payments, and track transactions in real time, all without switching between systems. This approach helps you save time and reduces the risk of errors.
Setting Up Financial Reporting
Stay on top of your studio’s performance with Tattoo Studio Pro’s financial reporting tools. You can generate automated reports to track key metrics and use the CSV export feature to easily share financial data with your accountant. It’s a simple way to keep your finances organized and accessible.
Troubleshooting and Maintaining Workflow Continuity
Even with the best preparation, bumps along the road are inevitable. Spotting and addressing issues early ensures your studio keeps running smoothly during the transition to Tattoo Studio Pro.
Testing Workflows and Resolving Data Problems
Before fully switching over, test every essential workflow your studio relies on. Try booking a test appointment, sending an SMS reminder, processing a mock payment, and generating a sample report. This hands-on approach helps uncover potential issues before they impact your clients.
Data problems, such as duplicate entries or missing information, can often arise due to structural differences between systems. Review key client records to catch these errors early. Start with your most active clients, those with frequent bookings or upcoming appointments, and use Tattoo Studio Pro’s client search feature to quickly identify and fix duplicate records. Cross-check imported data against the original export to ensure everything transferred correctly.
Don’t forget to check calendar settings and time zones to avoid scheduling conflicts. Once all workflows are validated, focus on preparing your team for the new system.
Training Staff and Preparing for the Transition
After testing workflows, it’s time to get your team up to speed. Hands-on, targeted training is key to a smooth transition.
Schedule training sessions a few days before going live. Concentrate on the tasks your staff handles most often, like booking appointments, accessing client records, processing payments, and managing schedules. Walk through each process step-by-step, giving team members the chance to practice with realistic scenarios.
Quick-reference guides can be a lifesaver during busy periods. Simple cheat sheets for tasks like booking appointments or sending reminders can help reduce confusion. Keep these guides easily accessible at each workstation.
You might also consider designating one or two team members as “system champions.” These individuals can become go-to experts on Tattoo Studio Pro, helping others with questions and reducing the burden on you.
Remember, adapting to a new system takes time. Be patient as your team gets comfortable, and allow for a learning curve while workflows stabilize.
Using Tattoo Studio Pro’s Support Resources
Tattoo Studio Pro offers a variety of support options to assist you during the transition and beyond. Their customer support team is familiar with the specific needs of tattoo studios and can provide tailored solutions.
Take advantage of the help documentation Tattoo Studio Pro provides, and when reaching out to support, include as much detail as possible. For example, instead of saying, “appointments aren’t working”, specify whether time slots are incorrect or SMS reminders aren’t being sent. The more precise you are, the quicker support can pinpoint and fix the issue.
For more complex problems, Tattoo Studio Pro’s support team can access your account (with your permission) to address issues directly. This can save a lot of time compared to lengthy back-and-forth troubleshooting.
Keep track of recurring issues or frequent questions from your team. If multiple staff members encounter the same problem, it could signal a training gap or a configuration issue. Sharing these patterns with support can lead to more permanent solutions.
Next Steps After Your Migration
Switching from Booksy to Tattoo Studio Pro might feel like a big task, but with this guide, you’ve tackled it step by step. Now that your data is successfully migrated and your team is up to speed, it’s time to make the most of what Tattoo Studio Pro has to offer.
With everything set up, you can now focus on using Tattoo Studio Pro’s features to simplify your day-to-day operations. Tools like digital consent forms, Stripe payment processing, and SMS reminders can help cut down on administrative work. Once your system is running smoothly, you can shift gears toward tracking your studio’s performance.
Get into financial reporting and use CSV exports to uncover trends. Whether it’s spotting your busiest days, identifying top services, or analyzing client retention, these insights can guide smarter business decisions. You can also set team permissions to manage access levels, keeping your operations secure and under control.
Take it slow when adopting new features. Start with the essentials, appointment booking, client management, and payment processing. Once those workflows feel natural, you can explore advanced tools like automated reminders or detailed reporting.
Keep in mind that Tattoo Studio Pro is always evolving. Regular updates mean there’s always something new to learn, so tap into their support resources to stay in the loop. As your studio grows, the software can grow with you, offering pricing plans that fit teams of all sizes, from solo artists to larger crews.
This migration isn’t just a software switch, it’s an investment in your studio’s future. The time and effort you’ve put into this process will reward you with smoother operations, happier clients, and a clearer picture of your business’s success.
FAQs
What are the key benefits of switching to Tattoo Studio Pro for my tattoo business?
Tattoo Studio Pro is built with tattoo studios in mind, offering features that simplify your day-to-day tasks. From managing clients and scheduling appointments to keeping tabs on your finances, it brings everything together in one easy-to-use platform.
What’s more, it provides clear, predictable pricing, making it simple to expand your team without worrying about surprise expenses. It’s a solution designed to help your business grow while keeping your budget in check.
How do I transfer my data, including appointments and financial records, from Booksy to Tattoo Studio Pro accurately?
To transfer your data from Booksy to Tattoo Studio Pro without a hitch, start by exporting your client details, appointment schedules, and financial records from Booksy. Make sure to use the export format provided by their system. Once you have your files ready, follow the step-by-step import instructions in Tattoo Studio Pro to upload everything into the new platform.
After importing, take a moment to review the data for accuracy. Pay close attention to client contact information, appointment dates, and financial records to ensure everything matches up. If you notice any issues or something doesn’t look right, don’t hesitate to contact Tattoo Studio Pro’s support team. They’re there to help you sort out any problems and make sure your migration goes smoothly.
How can I train my team to use Tattoo Studio Pro effectively after migrating from Booksy?
To help your team feel at ease and confident with Tattoo Studio Pro, kick things off by hosting a focused training session. Walk them through the platform’s key features, especially the ones they’ll rely on most, like scheduling, managing clients, and keeping track of finances.
Give everyone a chance to dive in with some hands-on practice. Let them tackle everyday tasks within the system to get comfortable with the layout and workflows. You can also tap any available resources, like user guides or video tutorials, to reinforce their learning.
Make sure you’re around to answer questions and provide ongoing support as they get the hang of things. Check in regularly to spot any hurdles they might be facing and offer extra help when needed.