Software & Comparisons
Migration Timeline: What to Expect When Switching to Tattoo Studio Pro
Step-by-step 4-week plan to move your tattoo studio to Tattoo Studio Pro: prepare data, set up accounts, import clients, and train staff.

Switching to Tattoo Studio Pro simplifies running your tattoo studio by consolidating appointment booking, payments, client management, and consent forms into one platform. This guide breaks down the migration process step-by-step, ensuring a smooth transition without disrupting your operations. Here’s what you’ll gain:
-
Simpler operations: Manage bookings, digital forms, and payments in one place.
-
Reduced no-shows: Automated SMS reminders keep clients on track.
-
Flexible plans: Options for solo artists ($29/month) or teams of up to 25.
Quick Overview of the Migration Process:
-
Preparation: Audit and organize current data.
-
Setup: Configure your account and test workflows.
-
Data Migration: Import client and appointment details.
-
Training & Go Live: Train your team and start using the platform.
By following this timeline, you’ll save time, minimize errors, and improve client experience. Here are the details to get your studio running efficiently with Tattoo Studio Pro.
Tattoo Studio Pro Migration Timeline: 4-Week Implementation Process
Tattoo Studio Pro
Preparing for Migration: Setting the Foundation
Getting ready to migrate to Tattoo Studio Pro? Start by organizing your data, reviewing your workflows, and assigning someone to lead the charge. Think of it as laying the groundwork for a smooth transition. A little preparation now can save you from a lot of headaches later. Begin by auditing your current data and ensuring everything is in order.
Auditing and Organizing Your Current Data
First, gather everything you use to keep your studio running, client lists, appointment records, sales data, consent forms, and payment history. Whether this information lives in spreadsheets, apps, or old files, compile it all into one place. Create an inventory that outlines each data source, the type of information it contains, and how much data you have.
Next, clean up your data. This means removing duplicates, updating outdated details, and standardizing formats. For example, make sure phone numbers follow the U.S. format (e.g., (555) 123-4567), dates are listed as MM/DD/YYYY, and all currency is in dollars with the $ symbol. If you notice missing information, like an incomplete address or an email that’s not on file, now’s the time to fix it, or decide if that record is even worth keeping.
Not everything needs to come with you. Think about what’s truly essential. John Quine, Head of Accounting at Parafin, shared his experience during a similar transition:
“Our NetSuite migration went smoothly with help from an outside consulting firm. We chose to backfill only a few years of data and focused on monthly trial balances instead of importing every historical detail. That decision saved us time and reduced complexity”.
Take a similar approach. If you’ve got appointment records from five years ago that you’ll never use, leave them behind. Focus on active clients, recent transactions, and upcoming schedules.
Finally, back up everything before making any changes. Save copies of your spreadsheets, export data from apps, and store it all securely. This ensures you have a safety net in case anything goes wrong during the migration.
Mapping Your Studio Operations to Tattoo Studio Pro
With your data organized, it’s time to see how your studio’s daily operations align with Tattoo Studio Pro’s features. Start by listing out your current workflows, how you book appointments, check clients in, handle payments, manage walk-ins, track inventory, and close out the day with reports.
Now, match these tasks to the corresponding features in Tattoo Studio Pro. For instance:
-
Appointment booking? That’s Smarter scheduling with automated SMS reminders.
-
Paper consent forms? Switch to Digital forms clients can fill out electronically.
-
Payment collection, whether it’s deposits, sales, or final balances, goes through Integrated payments powered by Stripe.
-
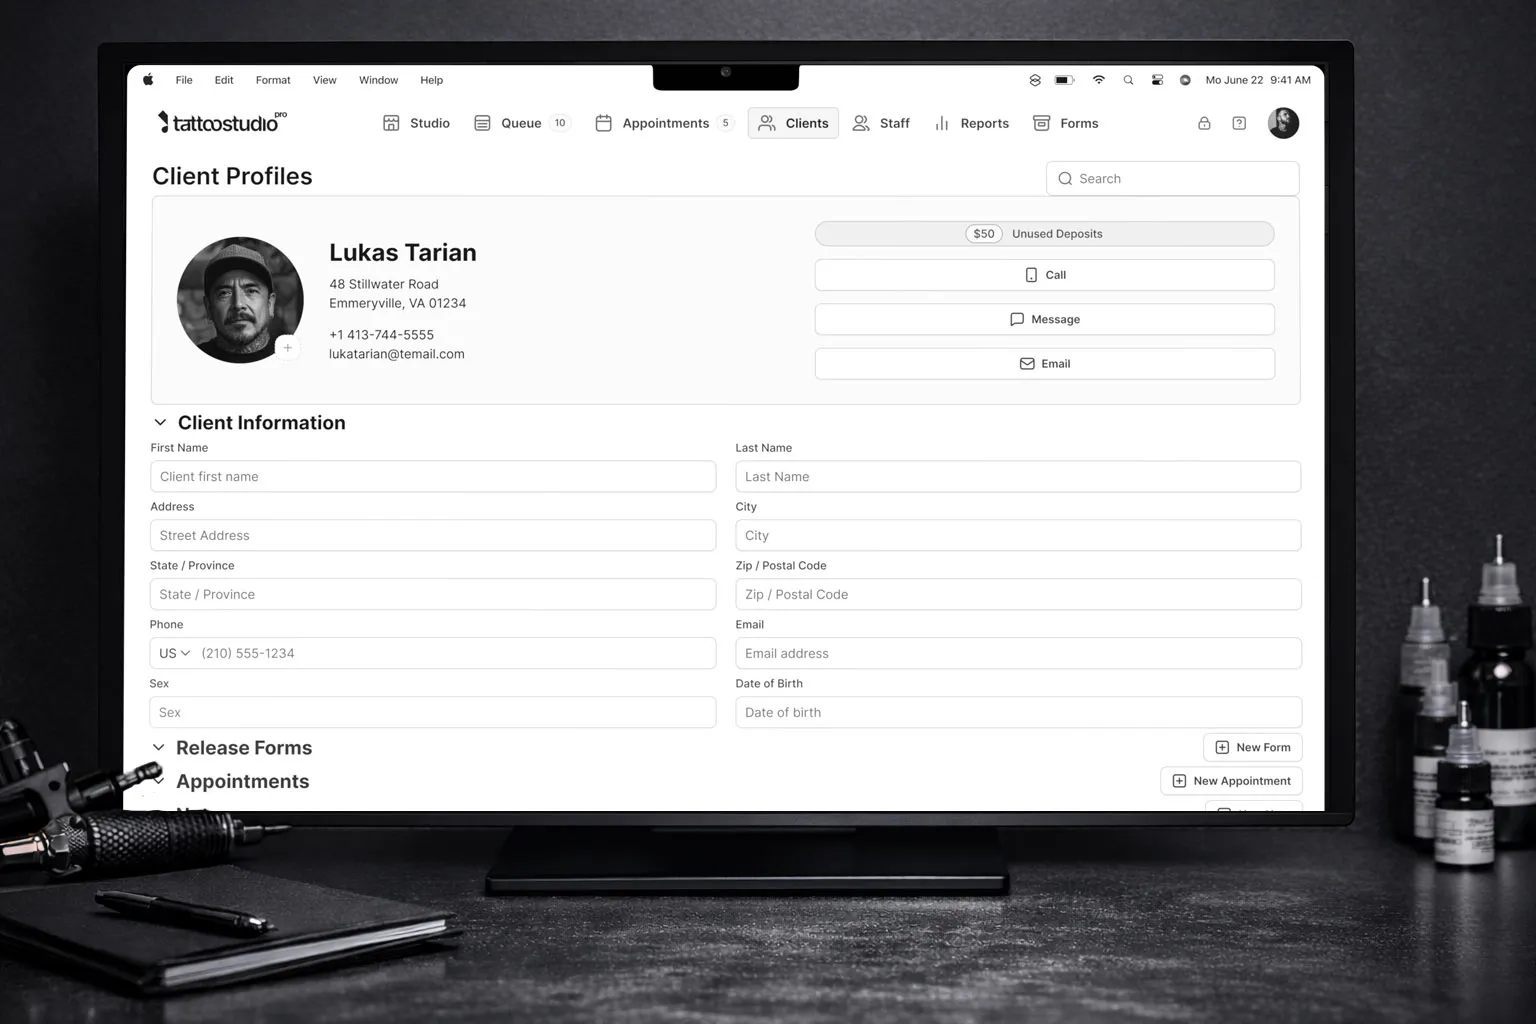
Client records? They’ll move into Personalized client management, where you can track history, notes, and preferences.
-
Staff scheduling and permissions? That’s covered under Staff Profiles.
-
End-of-day cash reconciliation? Shift this to the Reports section for simpler financial tracking.
Use Tattoo Studio Pro’s role-specific tutorials to make sure every workflow is set up correctly. If you’re a solo artist migrating to Tattoo Studio Pro, focus on the features you’ll use most. Front desk staff should learn about queue management and check-ins, while studio managers can dive into reports and staff scheduling. Shop owners should explore financial tracking and analytics.
By mapping out these processes, you’ll make the next steps, importing data and testing workflows, much easier.
Assigning a Migration Owner
Every successful migration needs a leader. Pick one person, whether it’s you, your studio manager, or your most tech-savvy team member, to oversee the entire process. This person becomes the go-to for questions, ensures deadlines are met, and keeps everything running smoothly.
The migration owner’s responsibilities include coordinating with the team, scheduling training sessions, troubleshooting issues, sharing updates, and tracking progress against the timeline in this guide. They should have a solid understanding of your current operations and a clear vision of how Tattoo Studio Pro will fit into your studio’s future. Make sure they have the authority to make decisions and enough time to dedicate to the project.
This person will also handle communication with your clients and existing contacts during the transition. Keep everyone informed about what’s changing and when it will happen.
Setting Up Tattoo Studio Pro: Week 1
With the initial groundwork out of the way, week one is all about getting your Tattoo Studio Pro account ready to roll. This includes creating team logins, configuring your studio’s essential details, and running workflow tests before adding actual client data. Think of this as your chance to explore the platform and iron out any wrinkles early on.
Creating Team Accounts and Permissions
Start by setting up secure, individual access for your team. As the studio owner or manager, send email invites to each staff member so they can activate their personal logins. This ensures everyone has their own trackable access. Once accounts are active, assign roles based on each team member’s responsibilities.
Here’s a quick look at the typical role-based permissions:
| Role | Access & Permissions | Best For |
|---|---|---|
| Owner/Manager | Full access to all features, settings, and reports. Can manage staff accounts, permissions, and devices. | Studio owners and managers |
| Artist | Access to their Portfolio, Client Profiles, Queue, Appointments, and Forms Archive. | Tattoo artists managing clients |
| Staff | Access to the Queue and Appointments. | Desk staff or apprentices |
| Health Official | Access to the Forms Archive only. Does not count toward your staff limit. | Compliance and inspections |
If you’re using one of the newer plans (SOLO, CREW, TRIBE), team members can log in from personal devices or shared systems. The platform’s user-switching feature, secured with unique PINs, allows multiple users to access one device without logging out. You can always update roles and permissions as your team’s needs change.
Configuring Studio Details and Payment Processing
Next, input your studio’s essential details, define your service categories, and set pricing in U.S. dollars. Connect each service to the appropriate digital consent form so clients automatically receive the correct paperwork when they book.
To handle payments, integrate Stripe for both online deposits and in-studio card transactions. Run test transactions to confirm everything flows smoothly.
Don’t forget to activate SMS reminders during this phase. These reminders not only cut down on no-shows but also ensure clients stay informed about their appointments.
Once these configurations are complete, it’s time to test your daily workflows and make sure everything runs smoothly.
Testing Digital Workflows
Before importing actual client data, take the system for a test drive using dummy data. Create a fake client profile, book an appointment, and walk through the entire process from start to finish. Test digital consent forms on various devices, process a payment using Stripe’s test mode, and check that SMS reminders are sent as expected.
If you have a team, test the user-switching feature on shared devices. Ensure each person only has access to the tools they need. For example, front desk staff can practice checking clients in through the Queue, while artists can test accessing their Portfolio and Client Profiles.
Brandie Medina, the owner of Steel & Ink, shared her experience with the platform:
“Tattoo Studio Pro turned my chaotic shop into a smooth-running studio. It has everything we need in one place. I think my team loves it more than I do!”
To make the setup even easier, use Tattoo Studio Pro’s step-by-step video guides and tutorials. These resources are tailored to different roles, solo artists, front desk staff, studio managers, and shop owners, and cover everything from setting up digital consent forms to processing payments. Spend this week getting comfortable with the platform so you’re fully prepared to bring in your real data next.
Data Migration and Testing Workflows
Now that your Tattoo Studio Pro account is set up and tested with dummy data, it’s time to bring in your actual client information and ensure everything works smoothly. Depending on the amount of data and the complexity of your workflows, the migration process can take anywhere from a few days to a week.
Importing Client and Appointment Data
Tattoo Studio Pro provides a free client list import service to make your transition easier. Simply reach out to their team to securely transfer your client data, this includes profiles, contact details, and appointment histories, into your new account.
Once the import is complete, log in to double-check that all the information has been transferred accurately. Review a sample of records to confirm that contact information, service histories, and custom notes are intact. If you’ve already scheduled upcoming appointments, ensure those dates and times have been carried over correctly.
After verifying the data import, you’re ready to move on to testing daily operations.
Running Common Scenarios
With your data in place, it’s time to see how the system performs under typical studio conditions. Run through essential daily tasks to ensure everything operates smoothly. For example:
-
Book a new appointment for an existing client, then try rescheduling and canceling it.
-
Process test payments for both services and retail products.
-
Have a staff member check in a client through the Queue and go through the entire process, from arrival to checkout.
-
Confirm that completed forms are correctly linked to client profiles and that staff can quickly access them.
-
If you have multiple artists, make sure each one can log in and see only their own appointments and client details, based on their assigned permissions.
These scenarios help you confirm that the system aligns with your studio’s day-to-day needs.
Comparing Old and New Workflows
Take some time to compare your previous system’s workflows with those in Tattoo Studio Pro. Look for areas where the new system saves time or simplifies tasks. This is also a great opportunity to identify any parts of the process where your team might need extra guidance. For instance, if certain tasks feel unfamiliar or take longer than they did before, make a note to include these in your onboarding training.
Onboarding Staff and Going Live
Once your data is migrated and workflows are verified, the next step is preparing your team for a smooth launch. A successful rollout hinges on ensuring every team member knows exactly what they need to do and how to do it.
Role-Based Staff Training
Training should be tailored to each role. For example, artists need to master calendar management, appointment scheduling, and digital consent forms. Front desk staff should focus on booking, check-ins, and retail sales, while managers need to understand account setup, permissions, payment processing, and sales reporting. Keep these sessions short, around 30 minutes each, so they stay focused on essential tasks. This approach keeps disruptions to a minimum and helps your team get up to speed faster.
To make training more effective, let staff practice on shared studio systems or their own devices. For larger studios, reaching out to Tattoo Studio Pro for customized onboarding support can make the process even smoother.
Tracking Key Go-Live Milestones
A simple progress tracker can work wonders for keeping everything on schedule. Assign clear ownership for each milestone and set target dates, such as: creating all staff accounts by 12/15/2025, completing front desk training on booking by 12/18/2025, hosting the first live appointment by 12/20/2025, and ensuring artists are comfortable with the calendar by 12/22/2025. Use tools like shared spreadsheets or task management apps to keep everyone accountable and spot delays early.
Once your milestones are set, be ready to tackle common early challenges head-on.
Addressing Common Early Challenges
Switching to a new system often meets resistance, especially from team members who are used to the old way of doing things. Combat this by highlighting how the platform saves time and makes their specific roles easier. Since over 80% of migrations encounter delays or budget issues, build in extra time to handle hiccups and offer additional one-on-one coaching during the first couple of weeks. Tackling these challenges early ensures your team can settle into the new system and sets the foundation for long-term success.
Setting Up for Long-Term Success
The real strength of Tattoo Studio Pro lies in using its tools to simplify your operations, giving you more time to focus on your artistry and clients. Features like automated booking and SMS reminders can help cut down on no-shows, keeping your schedule running smoothly. Dive into the Reports feature regularly to track sales, commissions, and overall performance through real-time data.
Operational efficiency is just one piece of the puzzle, your success also hinges on how you connect with clients and your team. Strengthen client loyalty by sending personalized follow-ups, running seasonal promotions, or offering referral incentives. Keep your workspace organized with daily cleaning routines and digital workflows that eliminate unnecessary paperwork. These small but meaningful steps ensure your studio maintains a professional and welcoming atmosphere for everyone.
As you refine these processes, focus on fostering a positive studio culture. Encourage open communication, celebrate team wins, and build an environment where your staff feels appreciated. If your studio begins to grow, hiring a dedicated manager to handle the day-to-day can free you up to concentrate on your art and long-term goals. By aligning these strategies with the milestones you’ve already achieved, Tattoo Studio Pro becomes more than just software, it becomes a core part of your studio’s success, allowing you to spend less time on admin work and more time doing what you love.
FAQs
How can I make sure my data is transferred correctly to Tattoo Studio Pro?
When switching to Tattoo Studio Pro, you can count on secure and guided onboarding support to handle your data transfer with care. The system safely imports your client details and other crucial information from your previous setup, saving you the hassle of manual input.
Should any issues arise, the support team is there to help at every stage, making sure your transition is as smooth and worry-free as possible.
What does a migration owner do during the transition to Tattoo Studio Pro?
A migration owner takes charge of overseeing the entire transition process, ensuring every step is handled with care and precision. From coordinating the data transfer to verifying its accuracy, they make sure everything is set up correctly to get your studio running without a hitch.
They also tackle any challenges that pop up during the process, smoothing out staff onboarding and operational changes. Their role is all about making the transition as straightforward and stress-free as possible for your studio.
How does Tattoo Studio Pro help prevent missed appointments?
Tattoo Studio Pro takes the hassle out of managing appointments by sending automatic SMS and email reminders to your clients. These reminders keep customers in the loop and ready for their sessions, cutting down on no-shows in a big way.
With smoother communication in place, your team saves valuable time while keeping the schedule on track. This means a more reliable workflow and a boost in your studio’s overall efficiency.